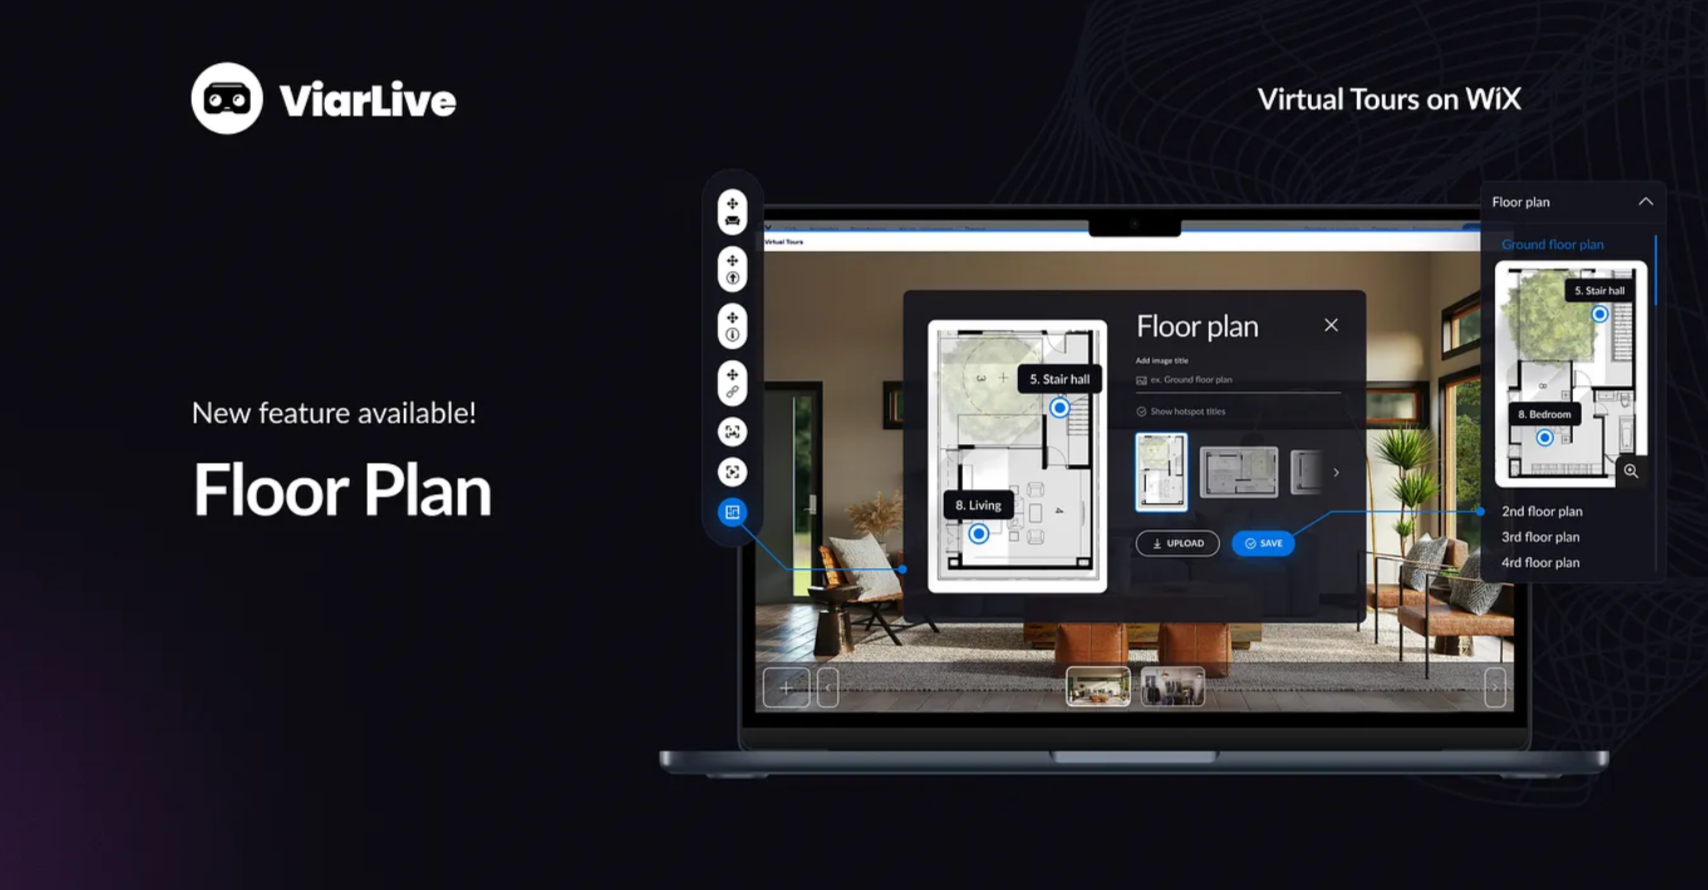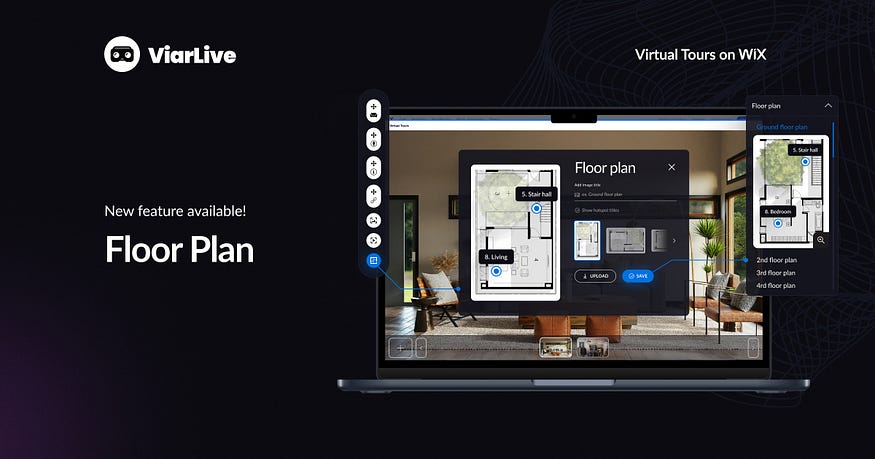
Great news! You can give even more information about the space you are showcasing by adding a floor plan.
Floor plans provide an overview of the layout of a room, allowing the viewer to get a sense of the size, shape, and flow of the space. This can be especially useful when you’re taking a virtual tour of a large space, such as a multi-story apartment, museum, or office building.
With a floor plan, you can highlight important features of the space, such as doors, windows, or stairs. This can be helpful for potential tenants trying to decide if an apartment is right for them. It also makes it easier for them to envision how furniture and other items will fit in the space.
Additionally, floor plans can provide information about the flow of the apartment, such as which rooms are connected and how they are arranged. This can help tenants determine if there’s enough space for their belongings and if the floor plan fits their lifestyle.
In summary, floor plans are a valuable tool for showcasing space and providing useful information to potential tenants.
In order to add a floor plan you will need:
- In the editor, find the button labeled “add a floor plan” and click on it.
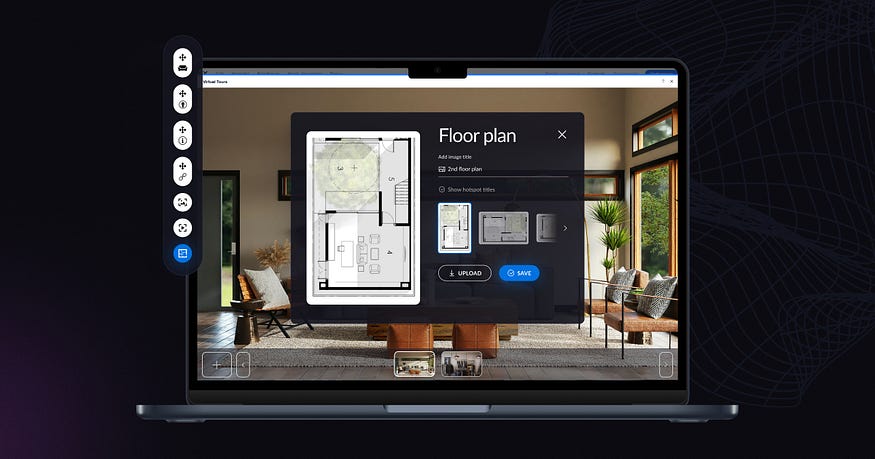
- A pop-up will open, asking you to upload a floor plan image (high-quality images will be easier to understand).
- When the image is uploaded, you can give it a name to provide more context to your end users.
- To use the floor plan as a quick navigation tool, you can add hotspots directly in the floor plan.
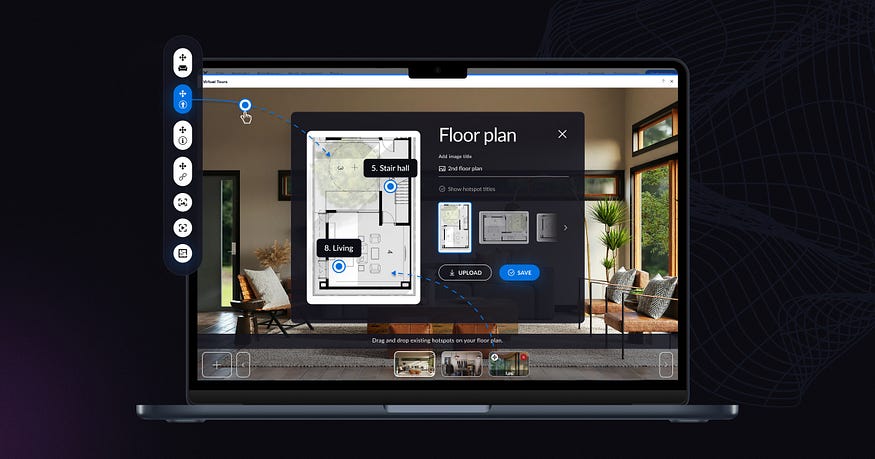
- You can also add a description to your floor plan, where you can provide more details about the space.
Now your users will see a widget when they open the tour.
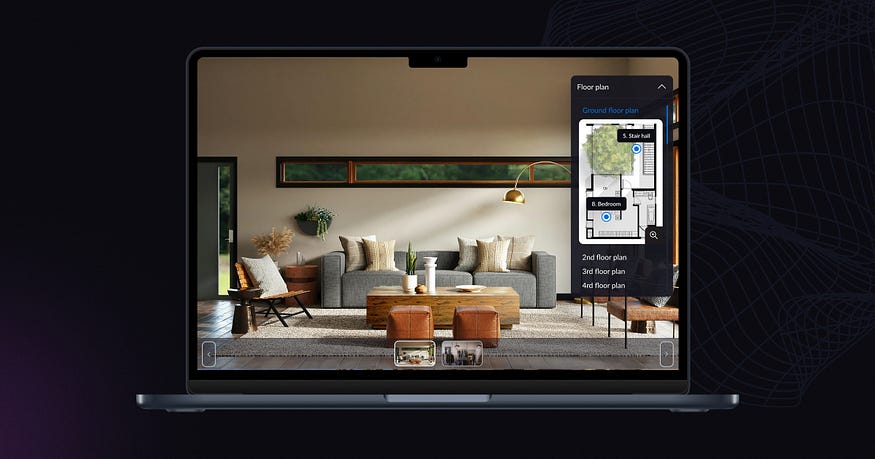
With a floor plan, your users will have an easier time understanding the place you are showcasing. If you haven’t tried it yet, go ahead and add it to your WIX virtual tour today!
And, don’t forget to give us some 👏
